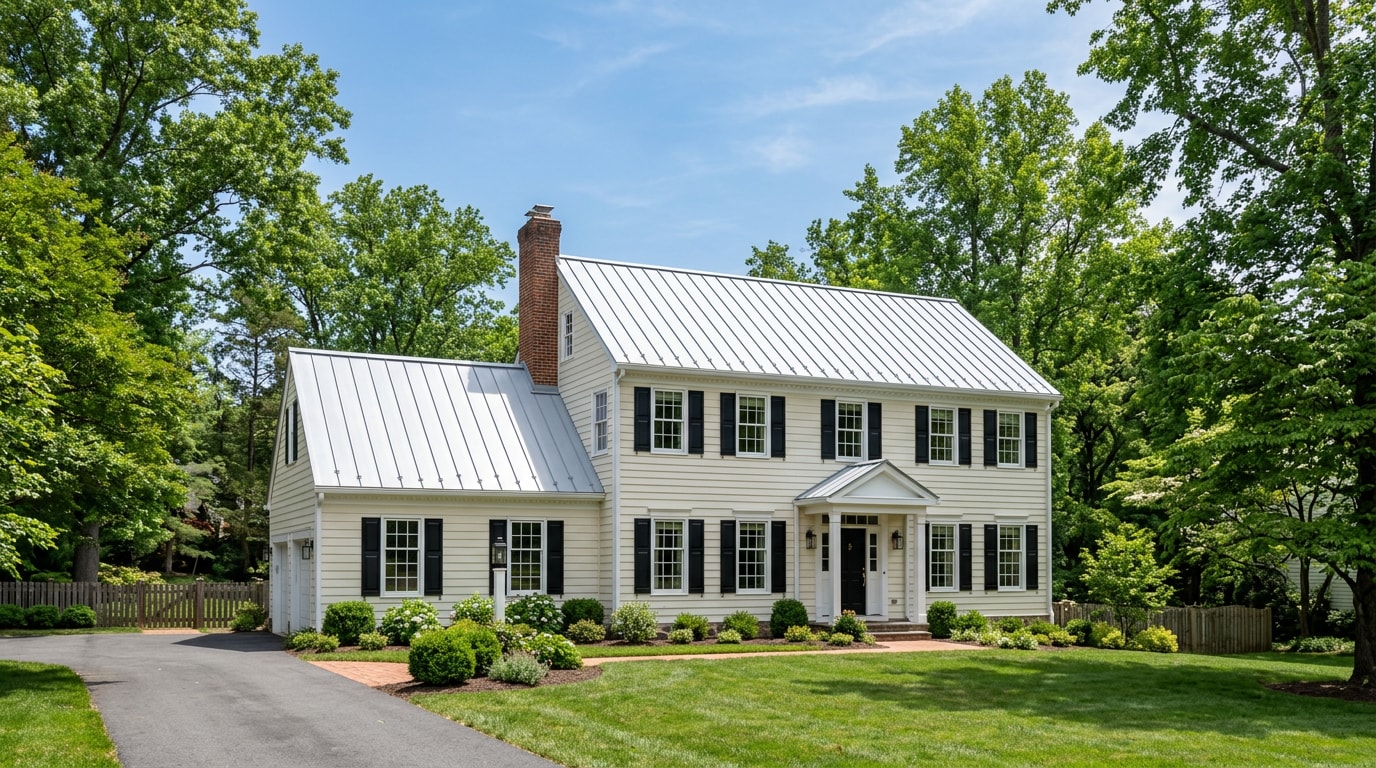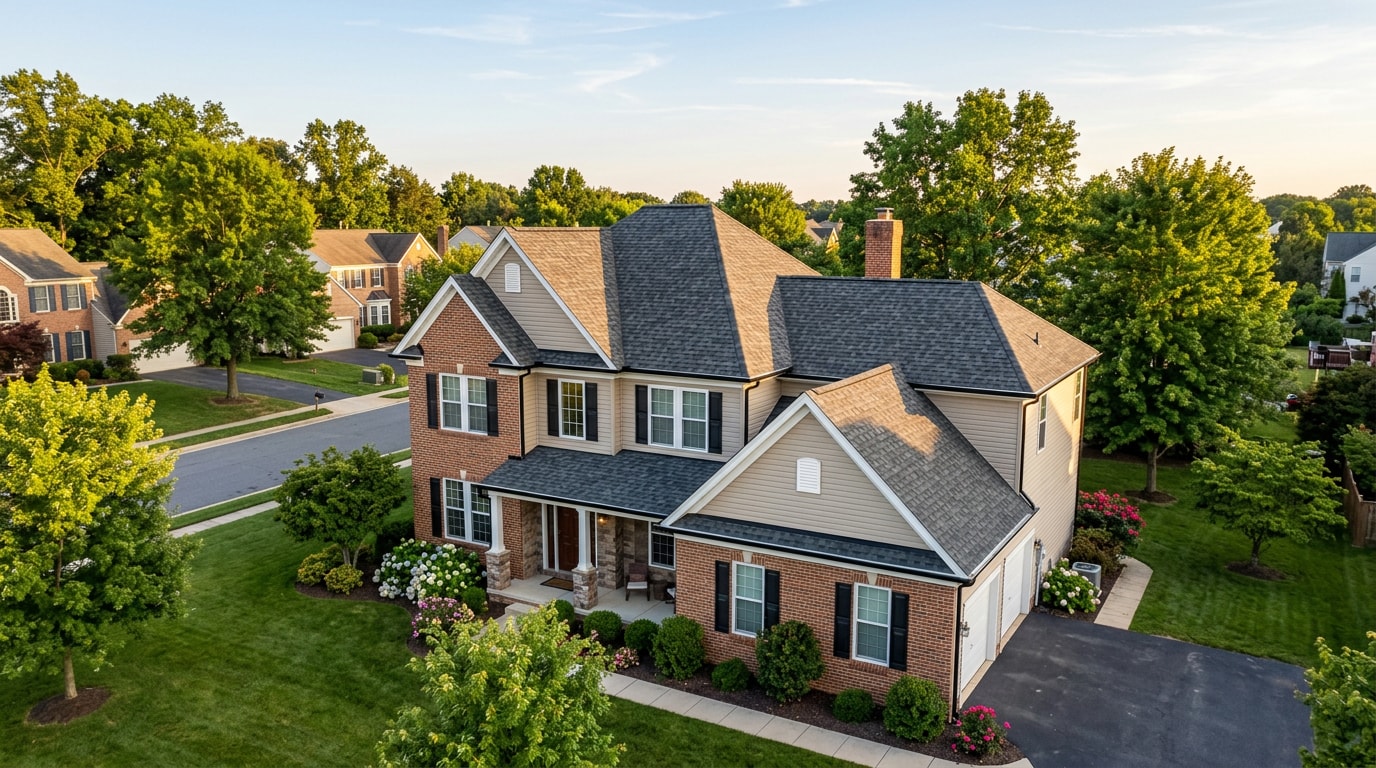
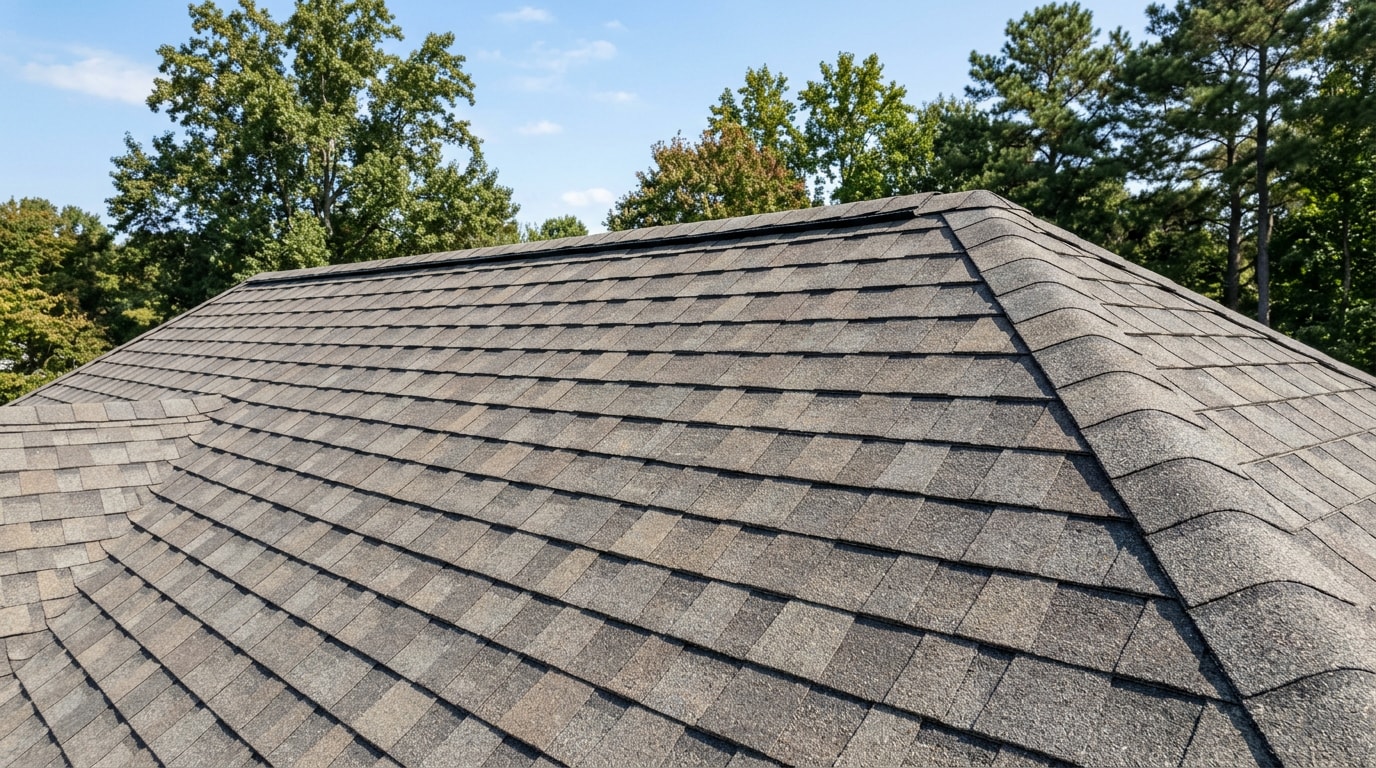
Learning how to install architectural shingles in Towson, MD means working around Baltimore County's freeze-thaw winters and summer wind gusts, not just laying shingles in a pattern. A dimensional shingle roof installed correctly holds its wind warranty and sheds water for decades; installed with shortcuts, the first nor'easter finds every one of them. This guide walks through the full install sequence, the Baltimore County permit rules that actually apply, and the mistakes that cause most callbacks.
What Are Architectural Shingles?
Architectural shingles, also called dimensional shingles, are asphalt shingles built from two or more laminated layers, which gives them a thicker, textured look than flat 3-tab shingles. The extra layer adds weight and rigidity, and that generally improves wind resistance and impact durability compared with single-layer asphalt shingles.
Each shingle is a fiberglass mat saturated with asphalt and topped with mineral granules for UV and weather protection. Wind ratings vary by product line rather than by "architectural" as a category. Most modern architectural shingles are rated for wind speeds between 110 mph and 130 mph , and mid to higher tier products often carry a 130 mph rating when installed using the manufacturer's required nailing pattern . Always check the specific product's warranty documentation instead of assuming a blanket number.
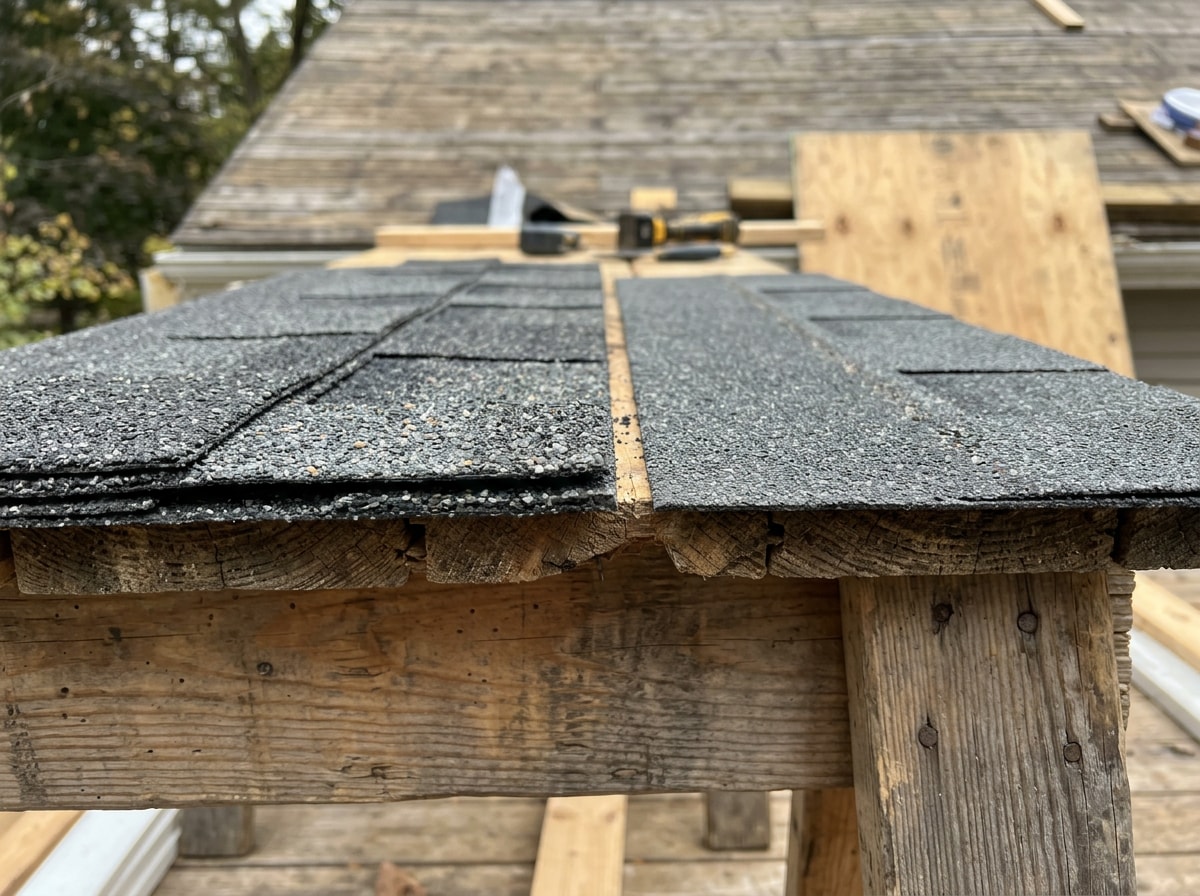
Tools and Materials You'll Need
Stage everything before the first nail goes in. Confirming your deck is sound and gathering materials up front protects your shingle warranty, since most manufacturers void it if the deck or underlayment wasn't installed to spec.
Tools:
- Roofing nail gun or hammer
- Utility knife with a hook blade
- Chalk line and tape measure
- Tin snips
- Ladder with fall-protection gear
Materials:
- Architectural shingles (order roughly 10% more than your measured square footage to cover cuts, valleys, and waste)
- Underlayment (synthetic or asphalt-saturated felt)
- Starter strip shingles
- Drip edge
- Ridge cap shingles
- Roofing cement
- Roofing nails sized to your deck thickness
If you're unsure which shingle weight or nail gun setup fits a Towson roofline, our roof installation team can walk through options before you order materials.
Step-by-Step: How to Install Architectural Shingles
Online guides number this process anywhere from six to nine steps, but the underlying sequence doesn't change. At Eagle Bay Builders, our licensed crews install and inspect architectural shingle roofs across Towson year-round, and the callbacks we see almost always trace back to the same three or four steps below.
1. Prep the Deck and Underlayment
Inspect the deck for soft spots or rot before anything else goes down. Install drip edge along the eaves first, then roll underlayment horizontally from the bottom edge up, overlapping each row. On lower-slope sections, NRCA recommends a single layer of No. 15 asphalt-saturated underlayment for roofs with slopes of 18 degrees or greater, and a minimum of two layers for slopes between 14 and 18 degrees , which matters on the shallower porch roofs and additions common on older Towson homes.
2. Install the Starter Strip
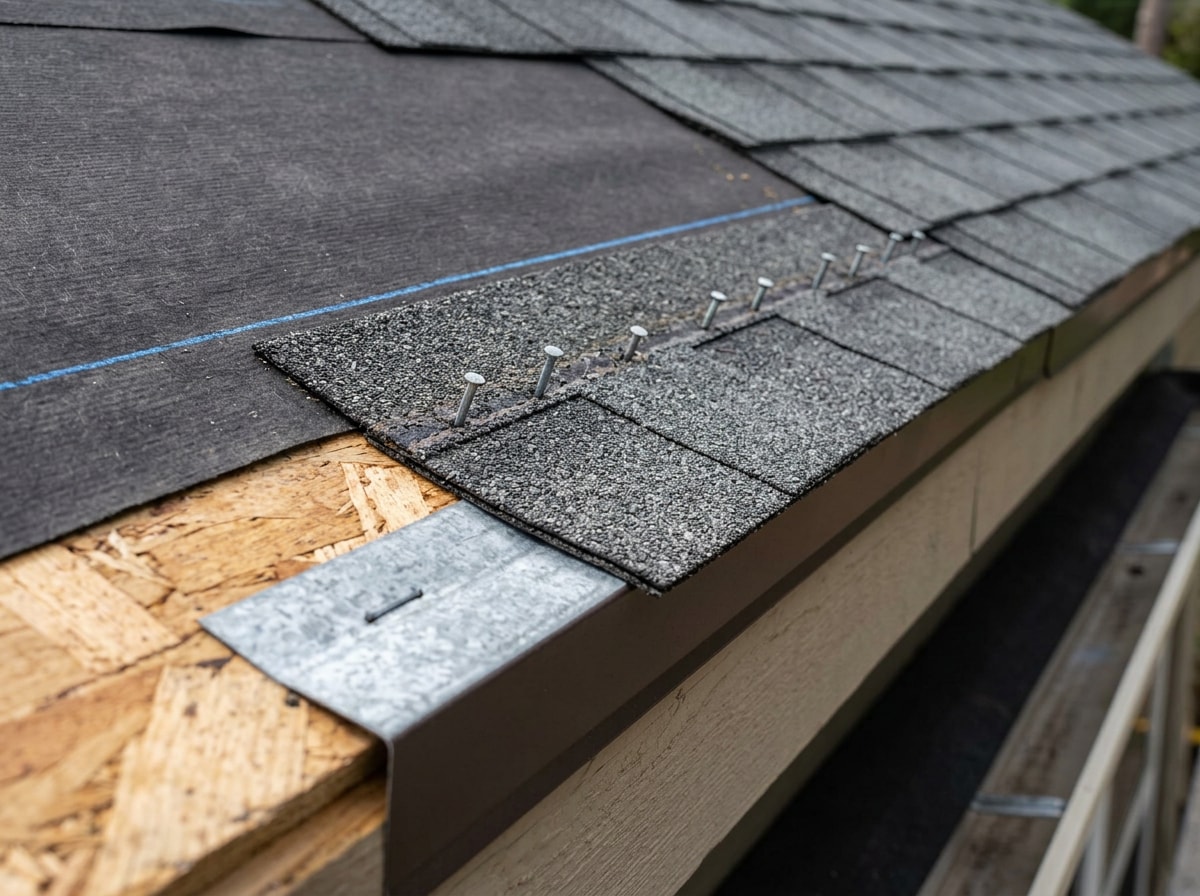
The starter strip goes directly over the drip edge, and skipping it (or faking it with trimmed field shingles) is one of the fastest ways to void a wind-rated warranty. Position it so it overhangs the drip edge and eaves by about 1/4 inch to 3/4 inch, enough to direct water into the gutter without curling. Nail it roughly 4 inches up from the eave edge, spacing nails every 6 to 8 inches.
The adhesive strip on starter shingles bonds the first course down, which resists wind uplift at the roof's most vulnerable edge.
3. Snap Chalk Lines and Set Your First Course
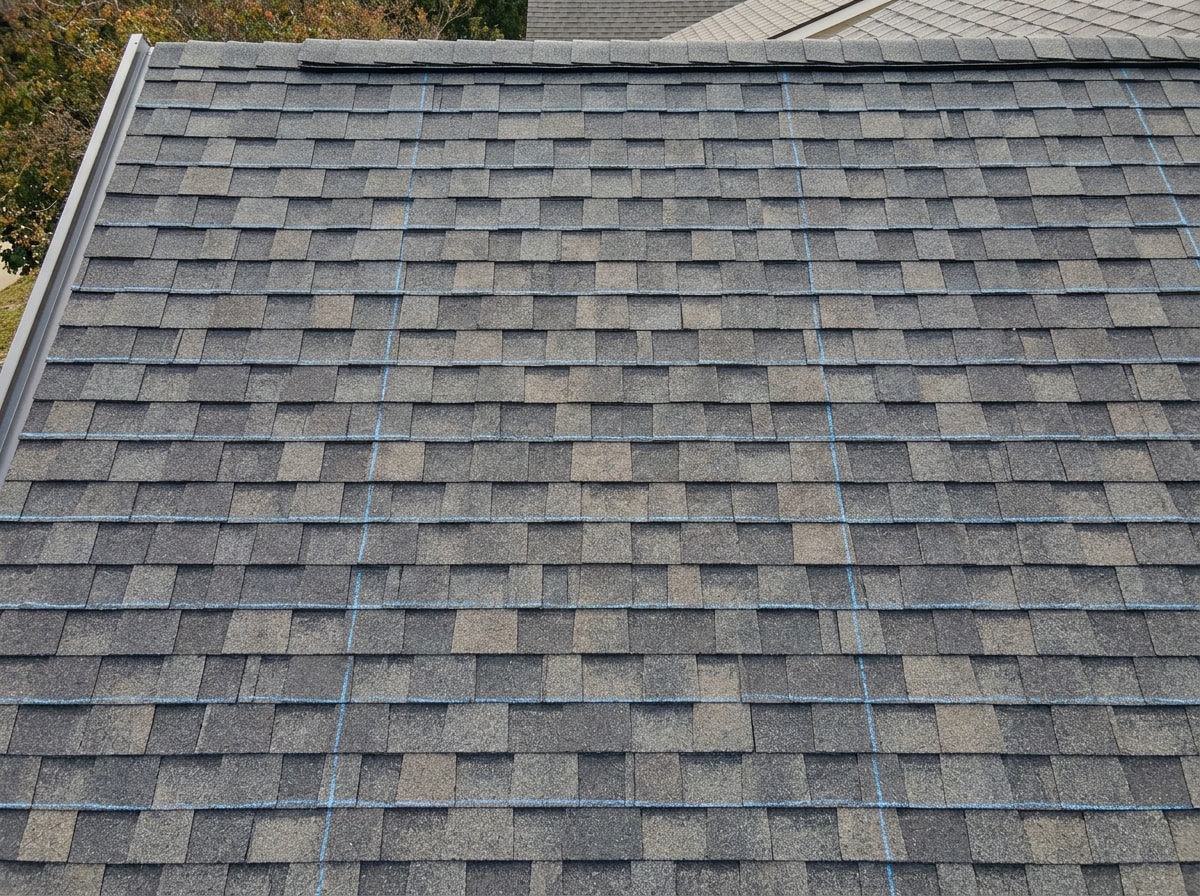
Snap horizontal and vertical chalk lines across the deck before laying a single course. Horizontal lines commonly mark a 5-inch shingle exposure; vertical lines, often every 6 inches, keep the offset pattern consistent as you move across the roof.
Align the first full course with the drip edge overhang used on the starter strip. Chalk lines also catch a deck that's slightly out of square, which shows up often on Towson homes with additions or dormers. Adjusting exposure slightly on one side evens out the error before it's visible from the ground.
4. Nail the Shingles Properly
Architectural shingles have a printed nail zone, a horizontal band a few inches above the bottom edge, and nails must land inside it to count toward a manufacturer's wind warranty. Placing nails in the adhesive strip can cause the shingles to fail to seal properly, reducing their wind resistance, and placing fasteners above it ("high-nailing") does the same .
| Nailing Pattern | Nails per Shingle | Typical Wind Rating* | Best For |
|---|---|---|---|
| Standard | 4 | ~110 mph | Normal wind zones |
| High-wind / enhanced | 6 | ~130 mph | Coastal counties, steep slopes, storm-prone roofs |
*Ratings vary by manufacturer and product line; confirm with the specific shingle's documentation. A four-nail fastening pattern per shingle is required to take advantage of the maximum wind warranty available on some manufacturers' shingles , while strip shingles in high-wind areas typically require a total of six nails, placing two instead of one at each inner position .
Towson doesn't see hurricane-force winds often, but nor'easters and summer thunderstorms produce gusts well above 60 mph most years. For homes that catch wind off open yards or hilltops, NRCA also recommends hand-tabbing, applying quarter-size dabs of adhesive under the shingles, in areas prone to high winds until the factory sealing strips set .
5. Create a Staggered Offset Pattern
Each new course should shift sideways from the one below it, usually by about 6 inches, so vertical seams never stack directly on top of each other. This creates the layered look architectural shingles are known for, and it keeps water from finding a straight-line path through aligned seams.
Check your offset every few courses with a tape measure rather than trusting it by eye. Small drift adds up over 20 or 30 courses, and visibly crooked seams are one of the most common DIY callbacks.
6. Work Up the Roof: Valleys and Penetrations
Keep exposure consistent toward the ridge, trimming shingles flush at rake edges with a utility knife and straightedge. Metal valley flashing goes in before shingles reach the valley, with shingles overlapping it by at least 6 inches on each side and never nailed directly through the metal.
Around vents, chimneys, and other penetrations, cut shingles tight against the flashing collar and seal cut edges with roofing cement. Rushed penetration flashing is a common source of leaks that show up months later rather than immediately.
7. Cap the Ridge and Seal Exposed Edges
Ridge cap shingles finish the peak and hip lines, overlapping each cap by about 5 inches as you work from the end opposite the prevailing wind direction, so each overlap faces away from incoming wind.
If your roof has a ridge vent, the caps cover it without blocking airflow. Natural air flow in a well-vented attic moves super-heated air out in summer, protecting roof shingles and removing moisture , which is one reason ridge venting is worth getting right during a reroof rather than patching around it later. For a deeper look at balancing intake and exhaust venting, see our roofing ventilation and energy efficiency guide.
Finish by dabbing roofing cement over any exposed nail heads or flashing joints not already covered by a shingle. It's an easy step to skip when the roof looks done, but it's what prevents small leaks two winters down the road.
Permits and Building Codes for Towson Reroofs
Towson falls under Baltimore County, and the permit rules are more specific than "check local code." A permit is not required to put two layers of shingles on a roof in Baltimore County . However, a permit is required for residential roof repairs if 50 percent or more of the sheathing or deck is being replaced, per Part 112.1.3 of the Baltimore County Building Code Bill 49-24 .
On any permitted reroof, the adopted code requires that an ice barrier and drip edge be installed per Sections R905.1.2 and R905.2.8.5 when replacing shingles on an existing roof . Confirm current layer count and these requirements with the Baltimore County Department of Permits, Approvals and Inspections before planning a roof-over, since rules can change between permit cycles.
Common Mistakes That Void Your Shingle Warranty
A handful of issues show up again and again on inspection calls, and they tend to compound each other on a real roof.
- Nail placement. Nailing too high leaves the shingle under-fastened and prone to blow-off; nailing too low exposes the nail head to weather and eventually leaks at that exact spot. Overdriven nails cut into the shingle surface and cause the same kind of premature failure.
- Underlayment shortcuts. Skipped seam overlap lets wind-driven rain reach the deck before the shingles are even on.
- Misaligned rows. Courses that drift out of alignment telegraph as wavy lines visible from the street, and they're hard to fix without pulling shingles back up.
If you want a second opinion on an existing install, a roof inspection catches most of these before they turn into a leak.
DIY vs. Hiring a Licensed Towson Roofing Contractor
A confident, safety-conscious homeowner with a simple, low-slope roof and the right tools can install architectural shingles as a DIY project. That said, most Towson homeowners hire a licensed local roofer for full tear-offs and replacements, since mistakes in flashing, nailing, or deck prep are expensive to fix after the fact and often aren't obvious until a leak appears.
If you're weighing DIY against a professional roof replacement, it helps to get a real cost comparison in hand first. Eagle Bay Builders serves Towson and the surrounding Baltimore County area, and you can browse our full roofing contractor services or visit our homepage to see recent local work before deciding.
FAQ
How long does it take to install architectural shingles on an average roof?
A standard residential roof, roughly 1,500 to 2,500 square feet, typically takes a professional crew one to three days, weather permitting. DIY timelines run considerably longer, often a full week or more of weekends, since most homeowners lack a crew's experience, tools, and pace. Factor in extra time for tear-off, deck repairs, and cleanup on top of the shingle work itself.
Can you install architectural shingles over existing shingles in Towson?
Yes, within limits. Baltimore County does not require a permit to add a second layer of shingles over an existing one, but a full tear-off is required once 50% or more of the sheathing needs replacing. A full tear-off costs more upfront but gives installers a clean look at deck condition, which matters more with heavier architectural shingles than it did with older 3-tab roofs.
How many nails per shingle do architectural shingles need?
Standard installation calls for four nails per shingle, placed inside the designated nail zone. High-wind installations typically call for six nails instead, adding two more near the shingle's center. Manufacturer instructions take precedence over general guidance, since requirements vary by product line.
Do you need a permit to install architectural shingles in Towson, MD?
It depends on scope. A permit is not required simply to add a second shingle layer, but it is required once 50% or more of the roof deck or sheathing is being replaced, or for any work on a property in a designated historic district. Check with Baltimore County's Department of Permits, Approvals and Inspections before starting work to confirm your specific project's requirements.
Can you install architectural shingles yourself, or should you hire a professional?
A confident, safety-conscious homeowner with a simple, low-slope roof and the right tools can do this as a DIY project. Most Towson homeowners hire a licensed local roofer for full tear-offs and replacements, since flashing, nailing, and deck-prep mistakes are expensive to fix later and often aren't obvious until a leak appears. Request a free estimate from a local roofing team before deciding, so you have a real cost comparison in hand.